| Getting Started With Java |
| Written by Mike James | ||||
Page 2 of 3
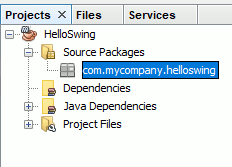
Adding a JFrameWhen you click Finish an initial default project is created for you. You can see its structure in the Projects window:
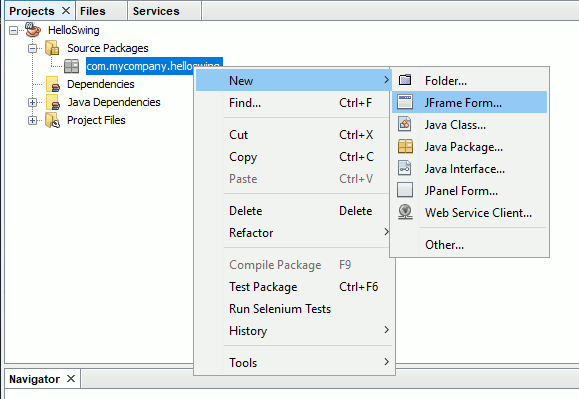
In this instance we need to create a file to start writing some Java. Use the:
menu command.
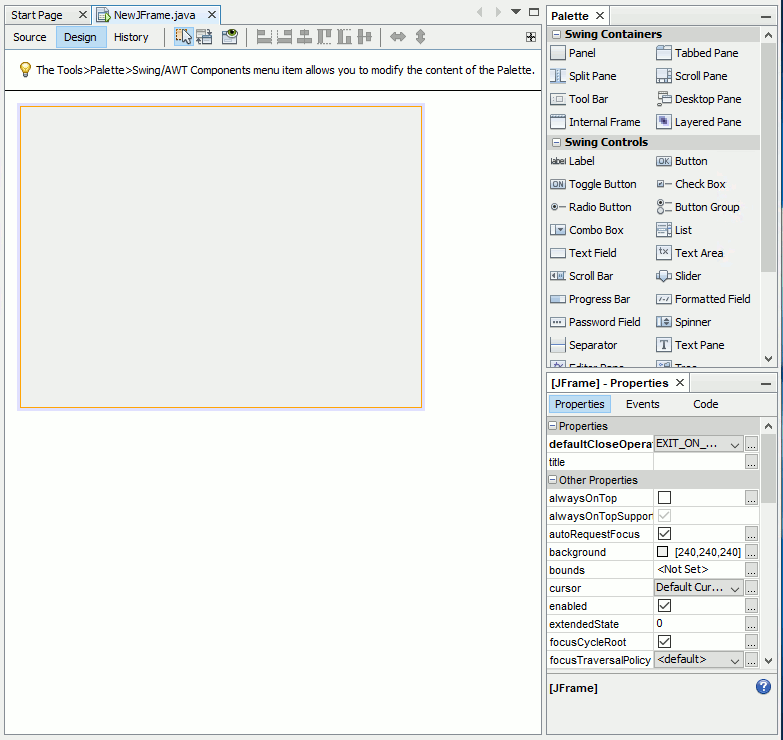
The dialog box that appears when you select "Other" gives you a choice of a range of different types of file you can create. In this case we need to create a basic Swing file so select JFrame Form in the menu.. A JFrame is the basic display surface that you can place buttons, textboxes and so on to create a user interface so it is often the starting point for an application. When you click the next button you are given an opportunity to give the class a name and customize it. For the moment simply accept the defaults and click Finished. The new JFrame file is created for you and placed in the project within the default package - more about packages later. You will also see the designer showing you a blank grey area which represents the JFrame. You can also see two tabs - Source and Design. If you click the Source tab you can see the code that has been generated to create the JFrame.This code will make sense to you in a very short time working with it but for now ignore it. You will learn a little about Java from this example but keep in mind that its main objective is to take you though the steps of creating and running a program so that you know everything is working and what to do. Adding a button
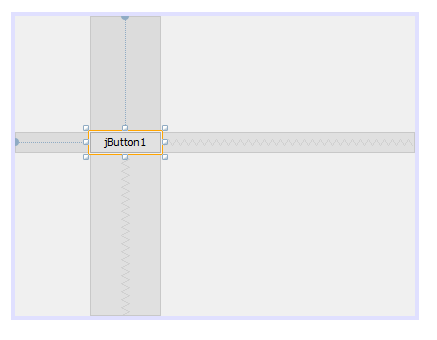
If you click the Design tab you can use the Palette (top right) to place user interface objects on the JFrame. Scroll down in the Pallet until you find a Button -- under the Swing Controls section -- and drag-and-drop the button onto the surface of the JFrame in the designer.
You can now position and size the button by dragging it to where you want it or dragging the sizing handles. If you want to see what your user interface looks like, before you have added any code, when the program is run you can click the Preview icon.
To make this our first program in Java we really do have to enter some Java instructions. Double click on the button and you will automatically generate a click event handler - i.e. a block of Java code that is obeyed in response to clicking the button. The code is generated in among a lot of other generated code - try not to be too worried about the rest of the generated code and try not to accidentally change it. The default handler that NetBeans generates for you doesn't do anything at all:
As you can see there is a comment line inviting you to add your own code that will be run when the button is clicked. |


