| Android Adventures - Pickers |
| Written by Mike James | |||||||
| Thursday, 10 September 2015 | |||||||
Page 3 of 6
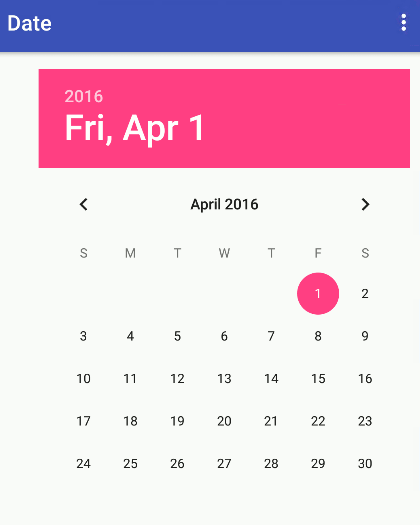
DatePickerThere are two date widgets in the current Android system DatePicker and Calendar view. The DatePicker has been in use since API 1 but Calendar view was only introduced in API 11. The main difference between the two is the way that they look. As they work in much the same way and the DatePicker is more versitle this is the widget we will use. Once you have seen the TimePicker in action there is very little to add to cover the DatePicker. To see the DatePicker in action simply start a new project called Date and accept all of the defaults. Place a DatePicker on the design surface at the top lefthand corner. The DatePicker underwent the same changes in Material Design as did the TimePicker. As long as you use the latest API and the default layout it will show in a calender format:
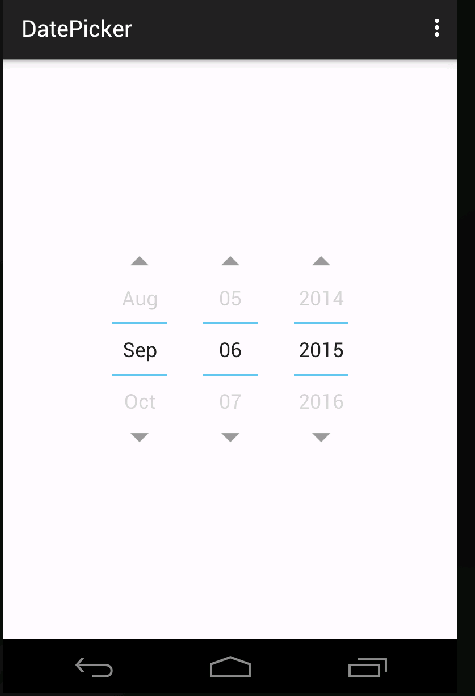
As is the case with the TimePicker if you run your app on an older pre-Lollipop version of Android then you will see the Holo themed spinner version:
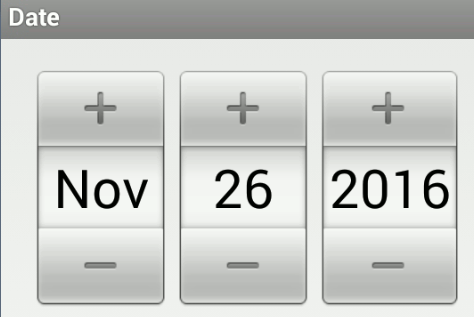
There is no easy way to get back to the old pre-holo style of DatePicker:
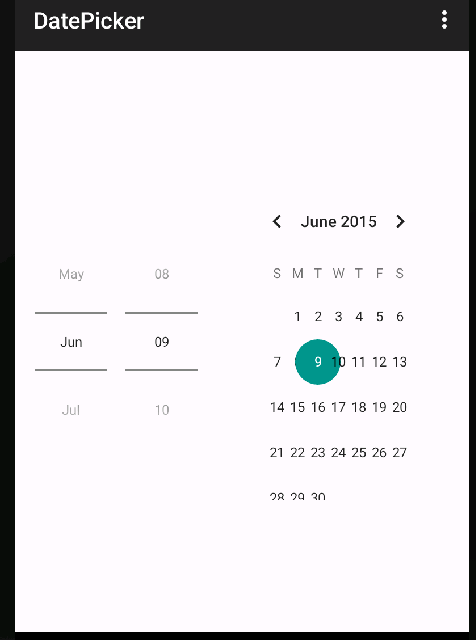
You can opt to display the holo spinner version in all Android versions by setting the datePickerMode to spinner. As an alternative you can also opt to also show a full Calendar in spinner mode by setting CalendarViewShown to true. The spinnerShown property can also be set to false to remove the spinners.
As well as playing with the way the DatePicker looks, you can also set and get all of the parts of a date using:
You can also set and get maximum and minimum dates that the widget will show using properties. When it comes to interacting with the widget you can set up a button to allow the user to set the date as with the TimePicker or you can use the OnDateChanged event to track the value. Doing this follows the same steps as for the OnTimeChanged event but with a small difference - there is no setOnDateChangedListener method. Instead there is an init method which can be used to set the date and the event handler. For example, if you add a TextView to the bottom of the design surface and the following code for the event handler then you can see the date change each time the user makes a change:
To set up the DatePicker you need to add to the end of the OnCreate event handler:
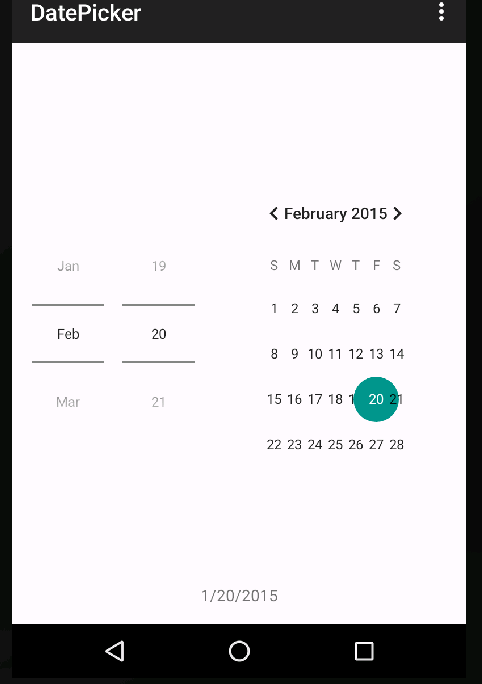
which sets the year, month and day and the event handler. If you run the app you will see:
This tells you at once, February is selected and the data is 1/20/2015, that the months are numbered starting with Jan at zero not 1. The solution is to add one to the month number. The complete program, also in the CodeBin is:
|
|||||||
| Last Updated ( Saturday, 15 October 2016 ) |
