| Android Adventures - Resources |
| Written by Mike James | |||||
| Thursday, 25 June 2015 | |||||
Page 3 of 4
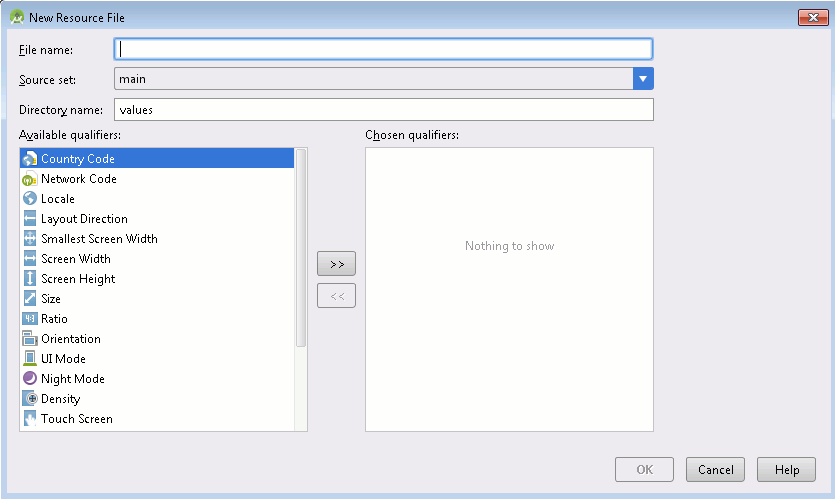
Conditional ResourcesSo far resources have just been a way to get data into your app. You might have thought that if there was another way to do the job then it might be just as good. However Android Resources are central to customizing your app so that it works with the wide range of device types and user that an Android app has to cope with. The clever part is that you can make use of conditional resources to provide a set of resources customized for the current device - at runtime. The idea is simple. First you provide a default resource file. This is the one that is located in the appropriate directory /res/values say - nothing new yet. However you can make use of qualifiers as part of the directory name. For example you can create a directory called /res/values-es which is intended to provide resource values for the app when running on a device set to a Spanish language locale. What happens is that first any values that you have defined are taken from the XML files in the values directory - the default. Next if the app is running on a Spanish language device the XML files in values-es are processed and any resources with the same name replace the ones provided by the defaults. You can see that this provides a fairly easy way to make sure that your app presents a UI in the local language - but there are more qualifiers than just locale and these allow you to customize the app for other features of the device. You can even stack up qualifiers as part of folder names to get more precise targeting. For example the directory values-es-small would only be used if the language was Spanish and the screen was similar to a low density QVGA screen. The only thing to be careful of is that the qualifiers are used in the order that they are listed in the table in the documentation. There are qualifiers for locale, screen density, size and orientation, device type night v day, touch screen type, keyboard availability and platform version (API level). You can find them all listed in the documentation but in most cases this is unnecessary because Android Studio helps you to create qualified resources. If you select a resource directory, values say, and right click you will see New,Values resource file in the context menu. If you select this option then the New Resource File dialog opens. You can use this to create a resource file - just enter its name - and you can apply any qualifiers you want to by simply selecting from the list of available quantifiers to the left.
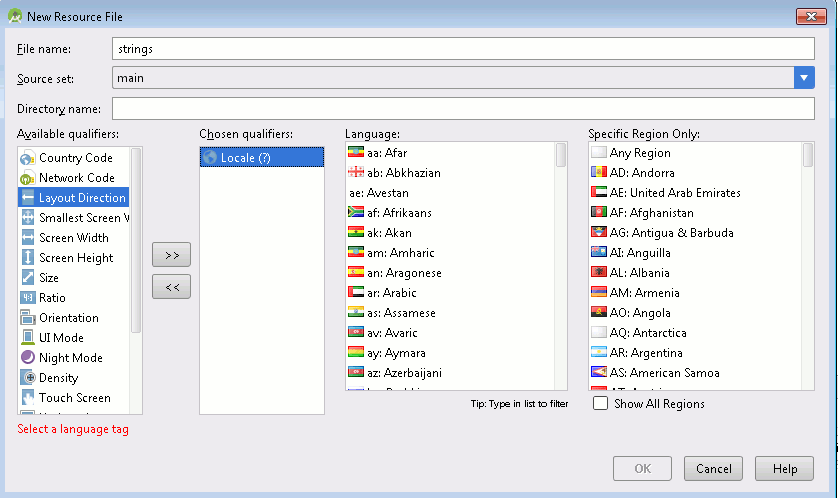
If you select say Locale then you will be allowed to enter any details of the qualifier. In the case of Locale you can select the languages and regions you want to apply from a list.:
Using the New Resource File dialog saves you a lot of time looking up qualifiers and language/region codes. It is much simpler than hand coding the directories and XML files. However you do need to be aware of how Android Studio represents qualified resources to you in the project browser. For example if you create a new strings file in the values directory and select Locale and es for the Spanish language in Any Region then this creates a directory res/value-es and a strings.xml file within it. So now you have
and
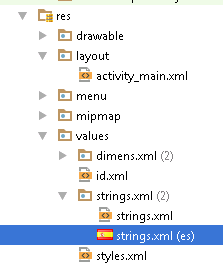
However this not what the project browser shows:
It shows the new file as being in the values directory within another folder called strings.xml. The project browser is trying to show you the resource files with all of the similar files i.e. strings all grouped together in a single directory but with qualifiers displayed to the right. In the case of locale it even shows the country flag as an icon. This is a conceptual way of organizing things and it arguably makes working with multiple resource files easier. In this case you can see that the two strings.xml files are displayed as variations on strings.xml. If you work with Android Studio you can for the most part ignore the actual file and directory structure and simply add additional resource files using the New Resource File dialog or for adding locales use the Translation editor - described in the next section. However occasionally you will need to find a file and manually edit the directory structure. In particular at the moment there are no command that allow you to modify the qualifiers associated with a resource file. The simplest solution is to delete the file and recreate it with new qualifiers if necessary. It is also worth mentioning that you can create custom layout files in the same way but the layout editor also has facilities to allow you to clone an existing portrait layout as a landscape layout for example. A Simple LocalizationAs we have already created a Spanish strings.xml file it is trivial to provide a Spanish version of the greetings string. All you have to do is edit the Spanish strings.xml to read:
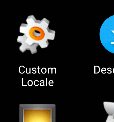
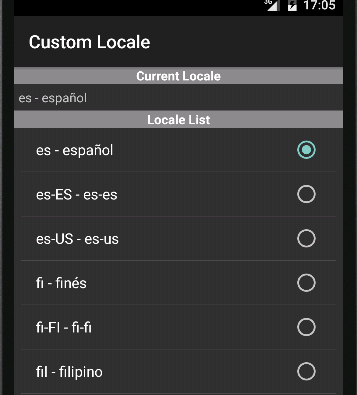
Now all you have to do is run the app and change the locale of the emulator or the real Android device. The simplest way to change the locale is to use the Custom Locale app:
When you run this you can see the current locale and select a new one:
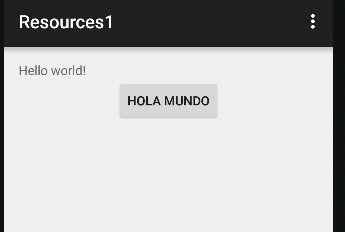
When you run the app in the emulator you will see the string resource retrieved from the Spanish strings.xml file:
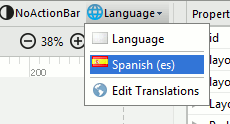
Notice that while the button's text has changed the default strings.xml has been used for the other strings in the app. It is very important to make sure that all of the resources you use have a default value. if you miss a resource out of a locale file that doesn't have a default you app wont run. Android Studio TranslateAndroid Studio also has some additional tools to allow you to preview conditional resources. The World icon and the Android icon that are displayed in the layout editor allow you to select a locale and an Android version that you can see in the layout editor. It is worth using these to check that your app looks good in other locales.
If you are trying to maintain an app that supports a number of languages then the easiest way to maintain it is to use the Edit Translations option. This display an editor for string resources that shows each local version on the same line: You can use this to enter translations of default strings and you can create new string resources across all of the locales with a single operation - enter the key, default and translations. You can also use the world icon at the top left to create new locales and this is by far the best way to do the job. You can even order a translation from Google Translate. Overall the Translation Editor is the best way to manage locales but occasionally you will still need to know how conditional resource files are organized, created and used.
|
|||||
| Last Updated ( Tuesday, 11 October 2016 ) |
