| Advanced Silverlight bitmaps |
| Written by Ian Elliot | |||
| Monday, 30 August 2010 | |||
Page 2 of 2

To be clear about this let’s try a simple example. If you try: BitmapImage bit1 = new BitmapImage( then you get an "object not set" error because bit1 hasn’t been downloaded yet as it hasn’t been required for display. If you set the CreateOption to None then it usually still doesn’t work because the downloading isn’t complete by the time you want to make use of it. BitmapImage bit1 = new BitmapImage( If you change the code by adding an eventhandler: BitmapImage bit1 = new BitmapImage(and write the eventhandler to create the WriteableBitmap: private void img_ImageOpened( Notice the need to cast the Object parameter sender to the correct type for the constructor. Then at last it all works – you can download a bitmap and use it to create a WriteableBitmap without displaying it first. Saving BitmapsThe sad news is that there is no easy way to save a bitmap to a file in a standard format such as png or jpeg. There is nothing stopping you from writing out the pixel data but this would lack the usual headers etc. which are necessary if you want to load the image into another application. Currently the only real option is to write a custom file save generator which is exactly what Joe Stegman has done at http://blogs.msdn.com/jstegman/default.aspx for png format. Rendering to a bitmapYou might think that once you have a WriteableBitmap all you can do is to work at the pixel level and you can but the good news is that you can use all of the vector graphics facilities that Silverlight offers to draw on the bitmap. For example to draw a line all we need is a Line object: Line myLine = new Line(); Once we have the line object we can render it to a WriteableBitmap: WriteableBitmap wbm = The second parameter can be used to specify a transformation applied to the object or left null if you want to draw the object as is. Also notice that you do need the call to Invalidate to ensure that the bitmap is redrawn withing the Image control. We can just as easily create the line object “on the fly” using object initializers: wbm.Render(new Line() A particularly useful shape to render is: wbm.Render(new Rectangle() which clears the entire bitmap to the background colour selected – black in this case. You can render any drawing object or any control to the bitmap. For example: wbm.Render(button1, null); renders a button to the bitmap. You can also render text to the bitmap. TextBlock message = new TextBlock(); and from here subject it to individual pixel manipulation via the usual WriteableBitmap techniques.
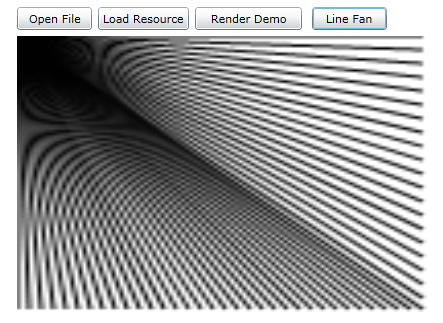
If you render multiple objects to a bitmap then they draw on top of what is already present so you can use drawing objects to build up complex images. For example to draw a fan of lines: WriteableBitmap wbm =
Now that you can see how WriteableBitmaps fit together with the standard vector drawing facilities provided by Silverlight you should be able to create any dynamic bit map or process a loaded image.
To access the code for this project, once you have registered, click on CodeBin. If you would like to be informed about new articles on I Programmer you can either follow us on Twitter, on Facebook , on Digg or you can subscribe to our weekly newsletter. If you would like to see an unconventional use of the WriteableBitmap via a custom mapping function then see: Silverlight Mandelbrot Zoomer
<ASIN:073563887X> <ASIN:0470650923 > <ASIN:0470534044 > <ASIN:1430225491 > <ASIN:1430219505 > <ASIN:1847199763 > <ASIN:1430230185 > |
|||
| Last Updated ( Monday, 30 August 2010 ) |