| Disk Analyzer |
| Written by Ian Elliot | ||||
| Tuesday, 13 October 2009 | ||||
Page 3 of 3
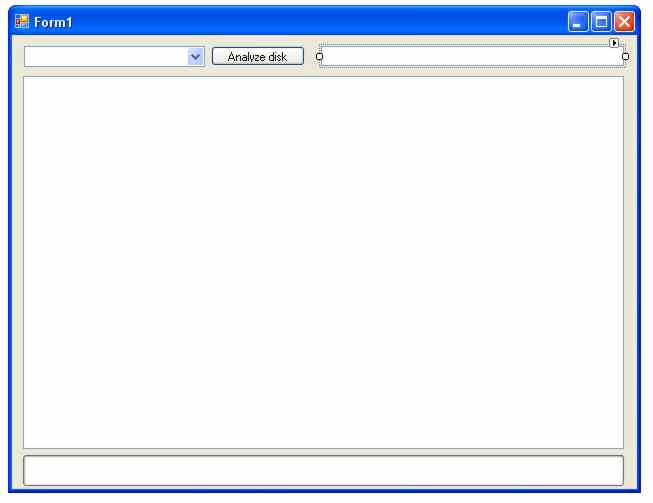
Making progressThis is a good start on a project as we know have the working heart of the analyser complete. However, we do need to make it a little more user friendly. The problem is that building up a tree-structured hierarchy can take quite some time. At the moment we are using the fact that the TreeView control redraws itself as each directory is explored to keep the user informed of progress. Unfortunately this redrawing is mostly responsible for the time it takes to analyse a disk. You can see that this is so by changing the first call to subTree to read: treeView1.BeginUpdate(); The call to the BeginUpdate method tells the TreeView control not to bother redrawing itself because we are changing it. To allow the user to see and manipulate the contents of TreeView all we have to do is call EndUpdate at the right time. With this change you should discover that the disk is scanned in a tenth of the time, which is much more acceptable, but now the user has no idea of what is going on. The solution to this is to add a progress bar and a text box as shown in the screen dump below and update both as the disk is explored.
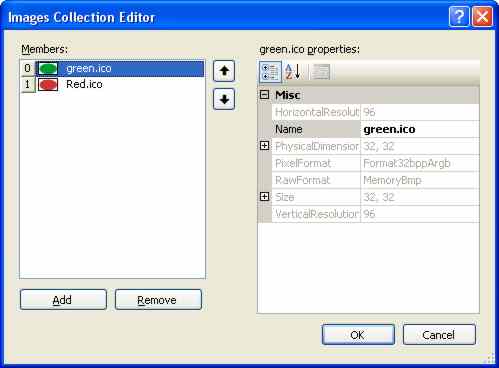
The progress bar is below the TreeView The textbox is used to show the name of the directory currently being analysed and to do this all we have to do is change the start of subTree to: private long subTree( The ProgressBar is a little more tricky – but not much. The length of the bar displayed is controlled by what you store in its Value property. You also have to specify the Maximum and Minimum values that correspond to all bars and no bars displayed. The best place to set up the ProgressBar is in the form’s constructor: public Form1() We need to know what percentage of the drive has been analysed and to work this out we need the amount of used storage. To this end we first need two global variables: private long grandTotal = 0; The amount of storage can be discovered using a DriveInfo object at the start of the button click event handler: private void button1_Click( It also makes sense to tidy up the way the user interface works by disabling the Analyze button so that the user cannot click it while analysis is in progress and it makes sense to clear the TreeView and other variables. We also need to re-enable the button by adding: button1.Enabled = true; at the end of the click event handler. Modifying subTree to keep track of the totals storage it has already analysed is simple enough – just keep a running sum after we have worked out the space used: foreach (FileInfo f in Files) Once we have the updated grandTotal it is easy enough to compute the percentage completed and update the ProgressBar: double progress = 1.0 - You might be wondering why we need the if statement? The reason is that the figure for the total used space and the total used space as calculated by adding all the file lengths together don’t give the same figure. To avoid the problem of doing more than 100% of the task and generating an error we have to check that progress isn’t bigger than one! Green go – red stop!You can now invent a wide range of things to add on to the analysis. You might want to check for the file types stored in any given directory, say, and characterise it as program, data, music or whatever. To show how easy it is to customise the analysis and to use images with a TreeView control let’s place a red blob next to any directory that has 1Gbyte or more stored in it and a green block for smaller amounts. First we need two graphics, red.ico and green.ico, stored in the program directory. Place an ImageList control on the form and use its custom properties to load both of the icons – the green one as index 0 and the red as index 1.
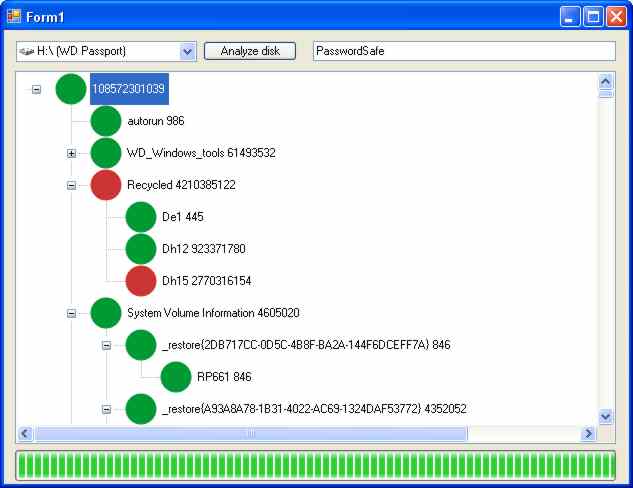
The blobs ready for use Next examine the properties of the TreeView control and set its ImageList property to the name of the ImageList control just added, ImageList1, by default. Now all of the nodes will show the image given by each TreeNode’s ImageIndex property to the right. As this is zero by default, the green blob will show unless we change it. All we have to do is add a test to the end of the subTree function that sets the ImageIndex of each node as it is processed: currentNode.Text = currentNode.Text + Now when the run is complete you will see all of the big directories with red blobs next to them. You can use this to discover which parts of the directory hierarchy deserve more attention.
To access the code for this project, once you have registered, click on CodeBin. <ASIN:0735624305> <ASIN:0596514824> <ASIN:0596527578>
|
||||
| Last Updated ( Tuesday, 13 October 2009 ) |