| Getting Fit with Excel |
| Written by Janet Swift | ||||
| Tuesday, 20 April 2010 | ||||
Page 1 of 3 When you've devised a fitness regime you'll want to know whether it's having the desired effect. In this series of spreadheets well collect, record and analyse the evidence, creating charts to show whether you are meeting your targets. 
If the onset of Spring has made you want to improve your fitness level you will be spending less time sitting at your PC. Fortunately setting up spreadsheets to monitor progress towards your fitness goals won't take very long and will repay your effort by providing feedback that can be highly motivating. This is the first of three articles and covers devising and printing a form for recording the exercise you do and its outcome. In the second part we'll compare your target exercise schedule with your actual exercise each week and in the final part we'll chart your achievements after several of weeks.If you want to skip ahead you'll find example spreadsheets supplied. The Record CardSetting up the initial spreadsheet is very straightforward and you can easily substitute a different exercise regime to the example given here. If you want to record a different set of exercises try to include at least one where the time taken to complete some task decreases over time and another where an increase in stamina is reflected in the ability to complete more repetitions.
First we need a blank weekly schedule that can be printed out to fill in away from the computer and in creating this we'll learn a lot about how to create a form with minimal text entry, spreadsheet formatting, routine operations such as widening columns and efficient printing.
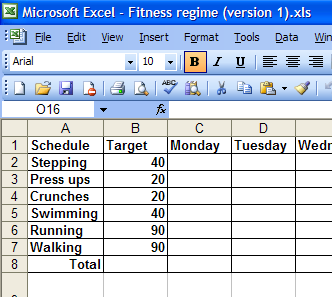
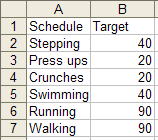
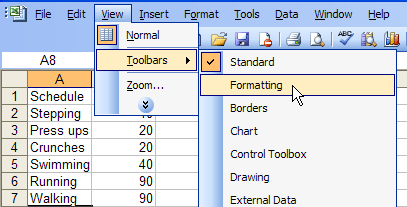
Type in the activities you intend to do in each weekly period in column A with the allotted time you intend to spend in column B, using minutes as the unit. We are going to use many of Excel's formatting facilities to produce this record card so ensure that the Formatting Toolbar is on view. If it isn't drop down the view menu, click on toolbars and select Formatting from the flyout list.
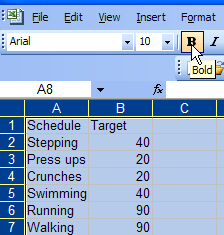
We want to apply Bold to the whole record card so first select the whole workbook using Ctrl+A (i.e. hold down the control key and press A) and then click on the B icon at the far left of the Formatting toolbar. It will remain highlighted as you continue to make entries.
Adjust the width of column A so that it accommodates all the text by placing the cursor on the boundary between column labels A and B and dragging to the right. To shrink the width of column B place the cursor between B and C and drag to the left.
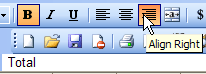
Now type "Total" at the bottom of the list (in A8 in our example) and notice that it is automatically in bold. To align it to the right of the column return the cursor to select cell A8 and click the Align Right button in the Formatting toolbar.
<ASIN:0596528345> <ASIN:0751338664> |
||||
| Last Updated ( Sunday, 09 May 2010 ) |