| Getting Started With Azure Linux VMs |
| Written by Mike James | ||||
| Thursday, 17 April 2014 | ||||
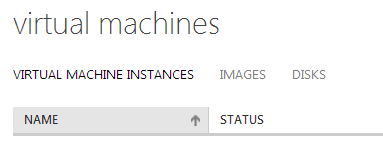
Page 1 of 3 If you are a Visual Studio user there are lots of advantages to making use of Azure as your Virtual Machine host. In this article the general ideas of using Azure and how to work with Linux VMs is described. Why Linux VMs? The simple reason is that working with Windows VMs is very easy because they come ready made with the usual GUI interface that you would use if you setup a new server on your desk. You simply remote desktop to them and forget that you are working with a hosted VM on Azure. Working with Linux VMs isn't quite as easy. If it isn't as easy why do it? This is a good point as Azure does major on Windows VMs, but there are times when a simple lightweight Linux machine is what you need or what fits the requirements rather better. For example, there are times when only true LAMP machine will do. Let's take a look at how to setup and use a LAMP machine using Azure. LAMP from scratchAt this point you might imagine that as I want a LAMP stack the best advice is to use an "appliance" - i.e. a ready made VM fully kitted out with Apache, MySQL and PHP. I used to think that appliances saved time, but recently I have changed my mind. The reason is that over time I have wasted a lot of effort on trying to find out exactly how an appliance is configured. It seems that the appliance makers want to protect us from others and ourselves by arranging the machine to be as close to production quality as possible. This is great, but when you are trying to create a development machine or even when you are preparing a production machine you really need things to be simple. So if you want things to be where you expect them to be, and to provide only things you want installed and with the passwords you select, the best thing to do is to use a stock installation and customize it. This is much easier than you imagine, even if you are a Linux novice, and it will save you much more time in the future. The only exception to this rule is when there are a set of complex and interrelated services to install and set up and the only example of this I can think of is an email server with SMTP, POP3, IMAP, spam filters, webmail and so on. Using An ApplianceDespite my best advice not to use an appliance I'm going to explain how to find appliance images in Azure - for the simple reason that at the moment you could easily miss the feature. No doubt at some point in the future Microsoft will make it easier to find so don't be surprised if it has changed. All you have to do to find ready configured images is to navigate to the Virtual Machines page and select IMAGES from the options in the top row menu.
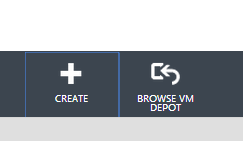
Next you will see a list of machine images you have in your library. If you next select the BROWSE VM DEPOT in the bottom menu bar you will be presented with a list of ready made machine images.
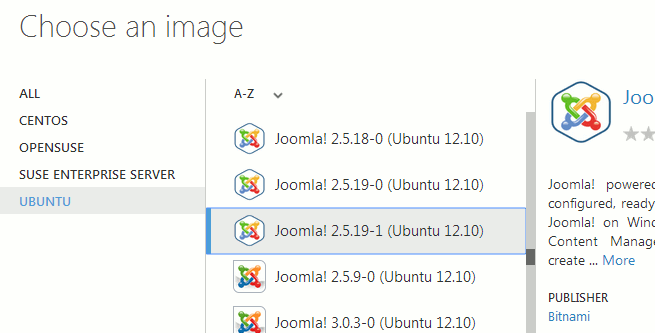
The biggest problem is that there are quite a few images and most of them are poorly described. It helps to narrow down the operating system and have an idea of which version you are looking for. Select the image you want, and configure the setup in the pages that follow. After this you will have to wait while a copy of the image is stored in the storage account you specified.
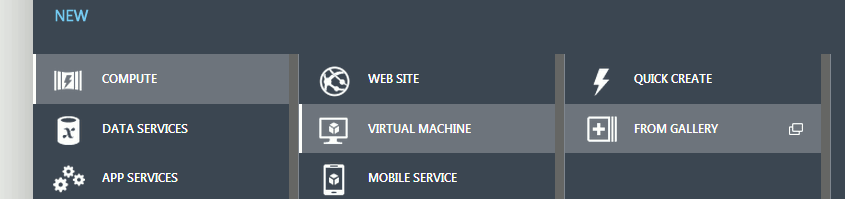
When the copy is complete you will see it listed as one of your machine images but it will have the status "Pending Registration". If you want to use the image to create a virtual machine select it and click the REGISTER icon in the bottom menu. This also takes some time. When complete the image will have the status of "Available". To create a virtual machine using this, or any image in the list, all you have to do is to select the NEW icon a the far left of any of the Virtual machine pages and select the FROM GALLERY option:
Finally select MY IMAGES from the menu at the left and the desired image from the list that appears. From here on in everything is the same as when you create a virtual machine from stock images. You have to supply a name and select the size etc of the machine. If you want to find out about the find details then read the section on configuring your own standard machine later - once you have an image the process is the same. A basic Linux machineAs I have already argued there are many advantages in creating a standard machine by starting from a stock Linux installation and then adding the additional packages you need. I'm going to use Ubuntu Server to create a LAMP system but the principles are the same for other Linux distributions and application stacks. First you have some preparation - you need a certificate and a copy of PuTTY. The reason is that unlike a Windows VM Ubuntu Server doesn't come with a GUI interface and you can't just use Remote Desktop to connect. You have to use an SSH terminal and the simplest to use is PuTTY. Although I said you "need" a digital certificate you can just get by with assigning a password but using a certificate is so much easier in the long run, not to mention more secure, that the initial effort is worth it. It also isn't that much effort. Get a certificateThere are many ways to obtain a digital certificate but there is no "standard" way. This is a surprise given how useful and important certificates are. For the Linux SSH you need a certificate in .pem format. You could go the whole way and get a certificate created by a certificate authority but this is expensive and for development purposes unnecessarily. A certificate authority will take the time to confirm that you are who you say you are and from that point on the certificate is proof that you are you - or usually that your company is itself. The alternative to a "proper" certificate is a self signed certificate and this is enough for SSH connection to a remote machine. After all you know who you are and the remote machine only really cares about the cryptographic keys in the certificate. The idea is that you install the certificate in the machine and it can access the public and private keys to establish an encrypted channel. You make use of the private key to prove to the machine that you are the person who owns the certificate. The private key is your "password" to log on to the machine. You can see that for this purpose a self signed certificate is fine. To create a self signed certificate you need an application to create one. You can find one in the Windows SDK - makecert.exe. If you have the SDK installed then use makecert but if you don't then downloading the OpenSSL binary which includes a certificate creation app is quicker. There are a number of ways to get OpenSSL installed. you can download and install the binary from https://www.openssl.org/related/binaries.html. It is actually easier however to download install one of the many packages that makes use of OpenSSL. The Azure documentation suggests using one of: msysgit: http://msysgit.github.com/ just use openssl GitHub for Windows: http://windows.github.com/ and run GitShell or cygwin: http://cygwin.com/ run cygwin I strongly suggest you use the GitHub and GitShell approach - its seems to work. Once you have OpenSSL installed you can make use of it in the same way no matter how you aquired it. Creating a self signed certificate is easy. The command:
creates a private key myPrivateKey.key and myCert.pen. You can use more meaningful names for the files. The final alternative is to use one of the many websites that provide free certificates. The only problem is that the biggest such sites generally only issue a time-limited certificate in the hope that you will come back and buy a fully authorized certificate. The smaller sites have a habit of disappearing so it is difficult to make a single recommendation - do a search for free certificate and post comments if you find one that really works. |
||||
| Last Updated ( Thursday, 17 April 2014 ) |