| Kinect SDK1 - A 3D Point Cloud |
| Written by Mike James | ||||
Page 2 of 3
Lights and CameraNow we have our 2D triangle we need to set up the lights and camera. As speed is important, we need a simple lighting setup:
The camera is one of the most difficult parts of the 3D rendering to get right. We could scale the depth output of the Kinect to bring the point cloud into any position within the world space co-ordinates. However it is much simpler to place the points in the space where Kinect naturally puts them. In other words x ranges from 0 to 320 and y from 0 to 240 with depth i.e. z ranging from a few hundred mm to a few thousand. If we place the camera at 0,0,0 and make it look along the z axis in the positive direction then we will see the point cloud but it will be a long way away and so very small. We could move the camera closer, but this has the effect of exaggerating the perspective - things that are close would have very very big triangles and things that are far away would have very small triangles. This is similar to the effect of the focal length on a real camera. With the view angle set to 45 degrees, the default WPF camera is extreme wide angle. Reducing the angle of view makes it more like a telephoto lens and compresses the depth effect. The only problem is that we now need to move the camera further away because of the magnification of the zoom effect. You can work out the necessary settings using simple geometry, but trial and error is quicker.
Notice that we have positioned the camera 1000 units (mm) further away from the point cloud and zoomed in with a 10 degree field of view. You can experiment with these settings until you get the view you like. One other subtle point is that, as the Kinect's y axis is inverted with respect to the 3D co-ordinates, we simply position the camera upside down to view the scene correctly. You can alternatively use a LookDirection of (0,0,1) and invert the Kinects y co-ordinate - however there is a lot more to say about the Kinect's x and y co-ordinate so let's just turn the camera upside down for now. Generating the point cloudOur next job is to generate an initial point cloud. We might as well generate the triangles at z=0 for now - later we will move them to the correct z position as supplied by the Kinect. As the depth map is 320x240 we can use pixel co-ordinates as if they were physical x,y co-ordinates. If you think about it you should be able to convince yourself that this isn't true, but for the moment it works and it is simple so let's use it. Ideally we would like to create a full resolution point cloud, but this slows the frame rate down to 1 frame per second on a fast machine with a good graphics card. The solution is to use a resolution parameter, which can be used to set the number of points we are plotting. For example:
plots every fourth depth pixel. Note s has to divide the height and width of the depth map exactly. The size of the triangle plotted is adjusted according to the number of points plotted. We also need an array to store the triangle objects so that we can change their position according to the depth data the Kinect produces and we need a global Model3DGroup object :
Now we can begin to build up a Model3DGroup which has all of the triangles, the camera and the directional light. A WPF 3D scene can have multiple model groups, but for efficiency it is better to just use one:
Now we have a Model3DGroup with a triangle at the pixel co-ordinate of each of the depth maps's pixels. That is, there are triangles in the rectangle with top left-hand corner at (0,0,0) and bottom right-hand corner at (320-s,240-s,0). Notice that we set up a null TranslateTransform ready to use when we add the Kinect and move the triangles to a new position. The final task is to create a ModelVisual3D which can represent multiple model groups and specify a viewport:
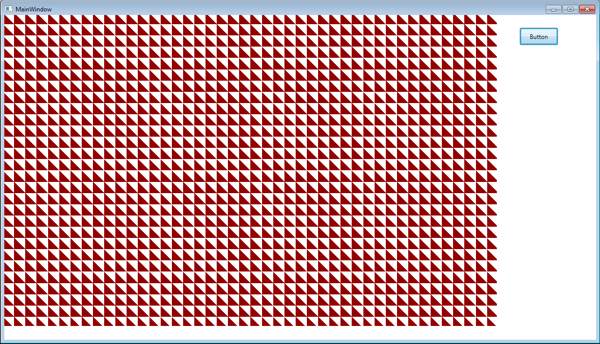
We now have a complete display. All of this is perfectly standard, but notice that for maximum speed we turn off hit testing, which is a very costly operation. If you run the program at this stage you will see the initial triangles at the closest they get to the camera. You won't see them all but don't worry - as they move away more come into view.
|