|
Page 2 of 4
In the next step we revisit our Role to attach more policies to it which grant the necessary permissions to actually execute our lambda.
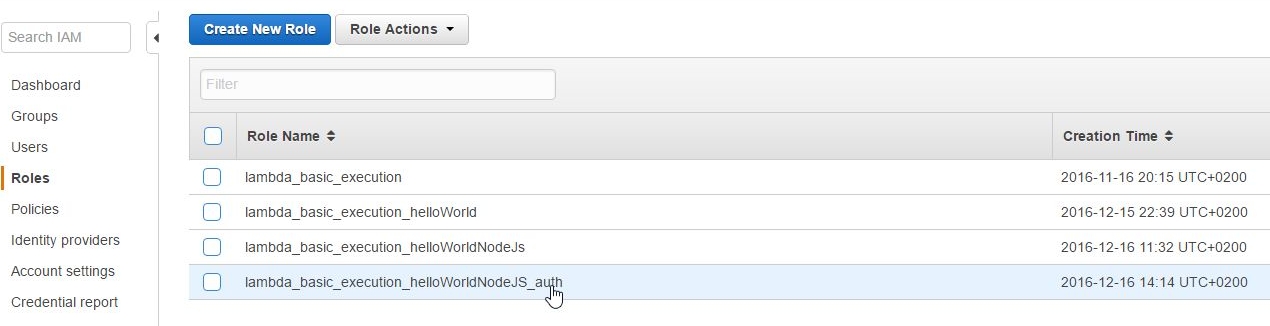
So let's pick our role:
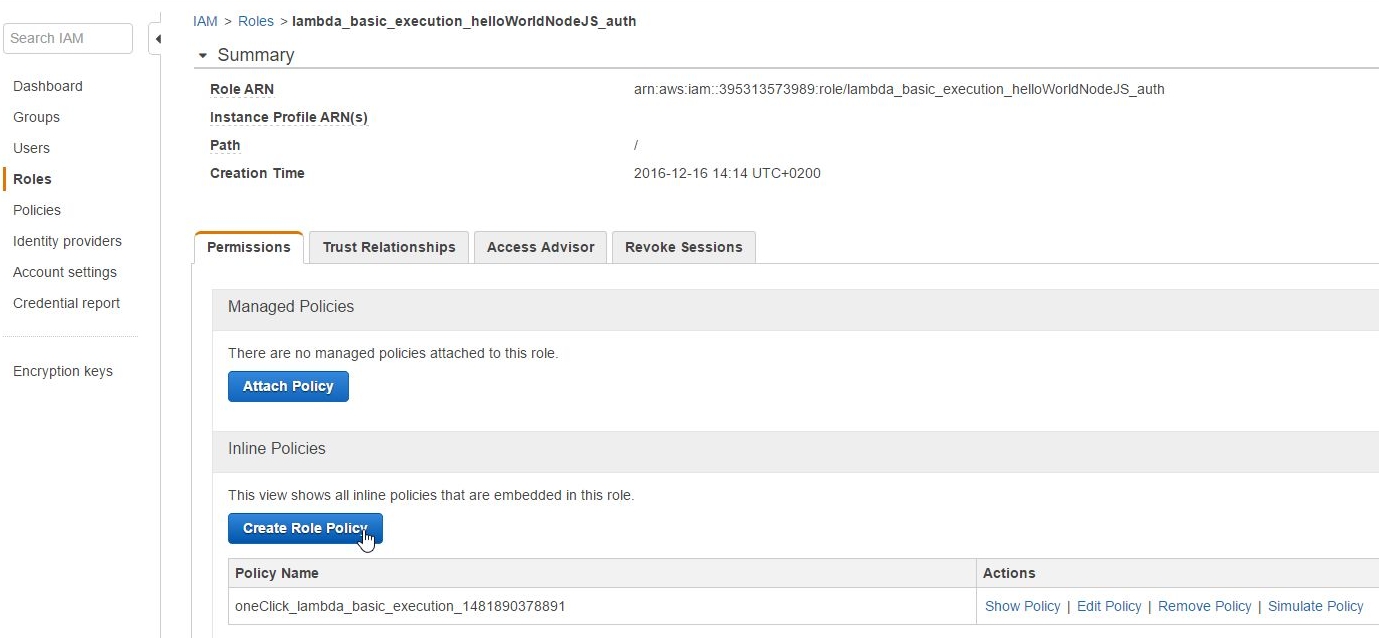
and create a new Role Policy:
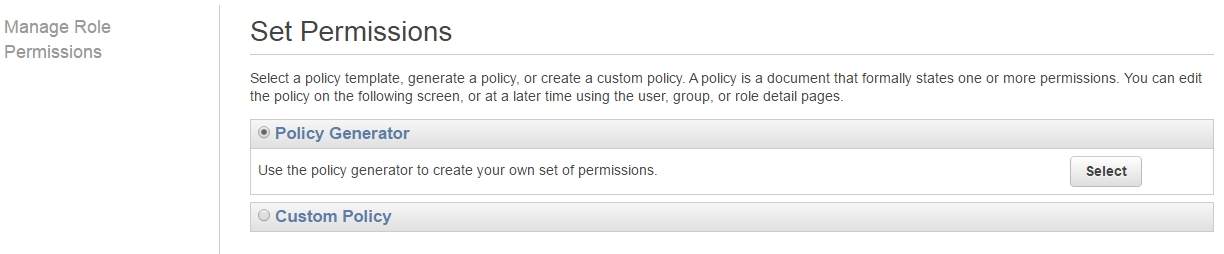
Then select Policy Generator:
and add the GetFunction, InvokeFunction permissions from the resulting dropdown box:
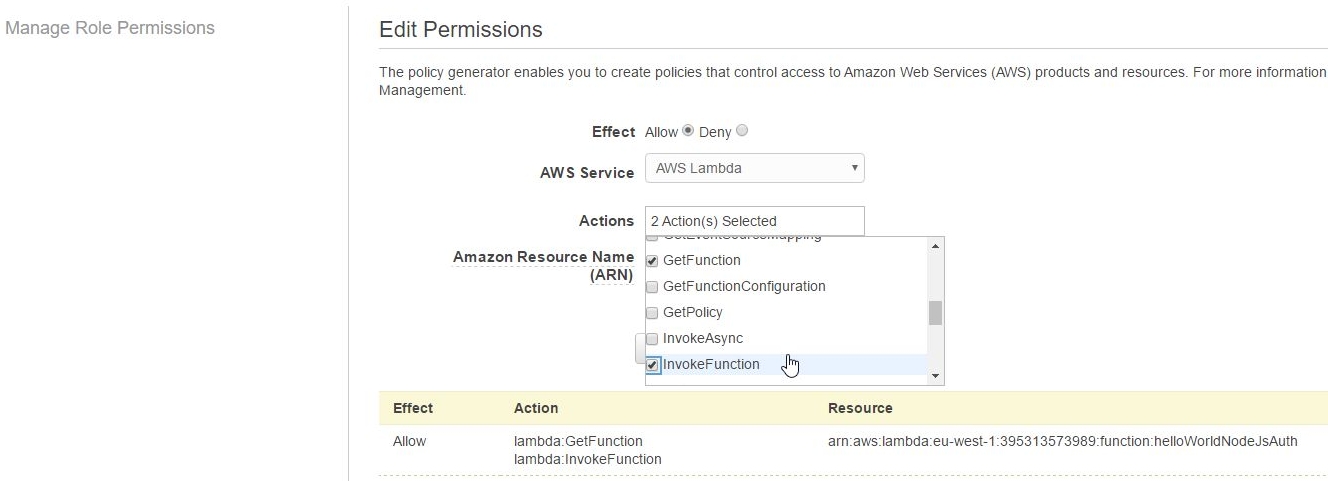
Review Policy reveals the generated underlying permissions policy template:
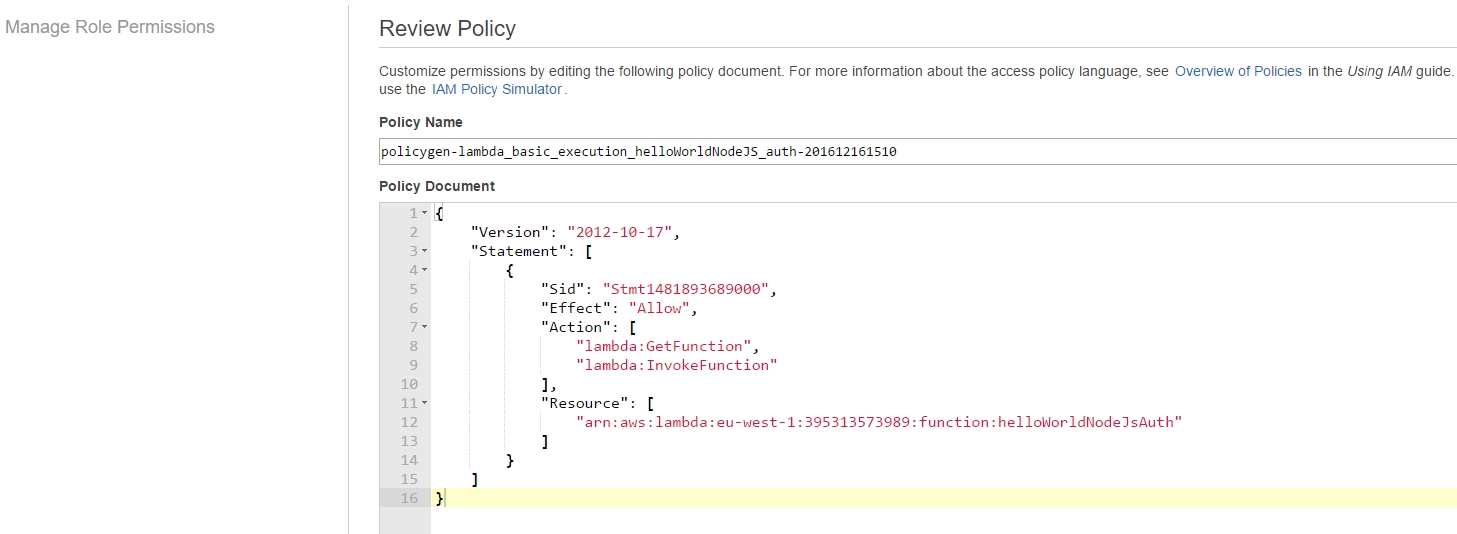
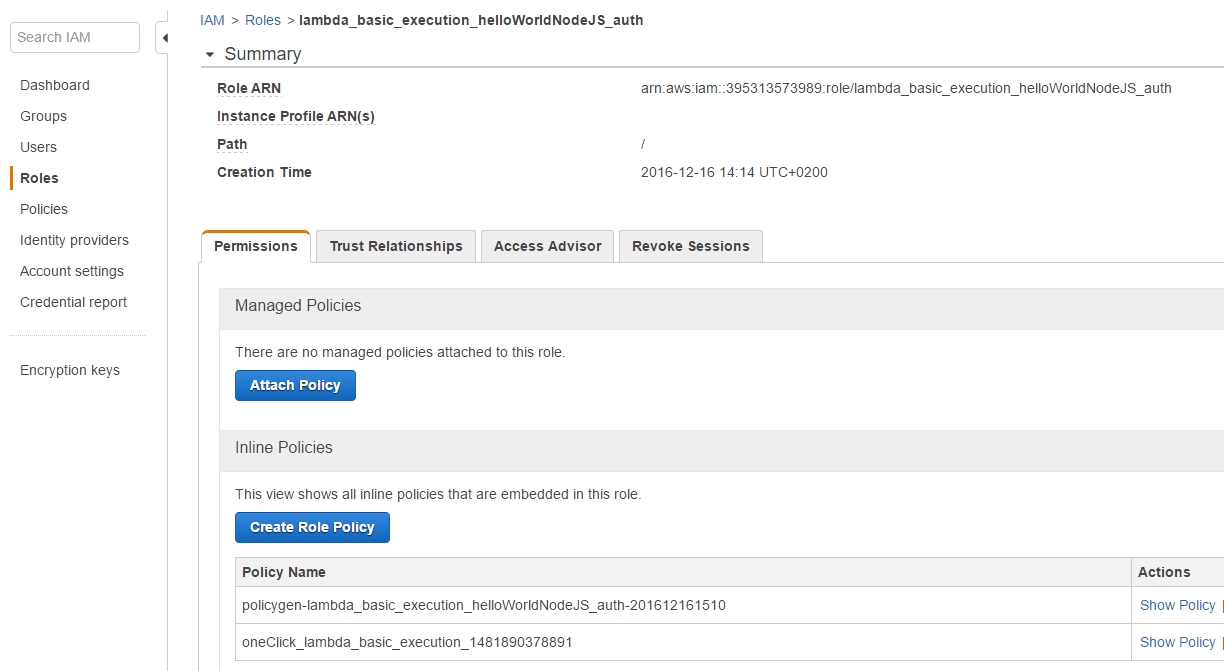
which has two policies attached to the lambda_basic_execution_helloWorldNodeJS_auth role:
But why go through the burden of creating a role in the first place?
The advantage of having a Role rarther than directly assigning permissions to a User is that, through the Role, we can encompass a multitude of users whom we can easily grant or revoke permissions to, a much more flexible and time-saving action.
The Role should be imposed to user entities, so we're also going to have to create a new User, with no permissions whatsoever since he's going to inherit everything necessary through his binding to the lambda_basic_execution_helloWorldNodeJS_auth role.
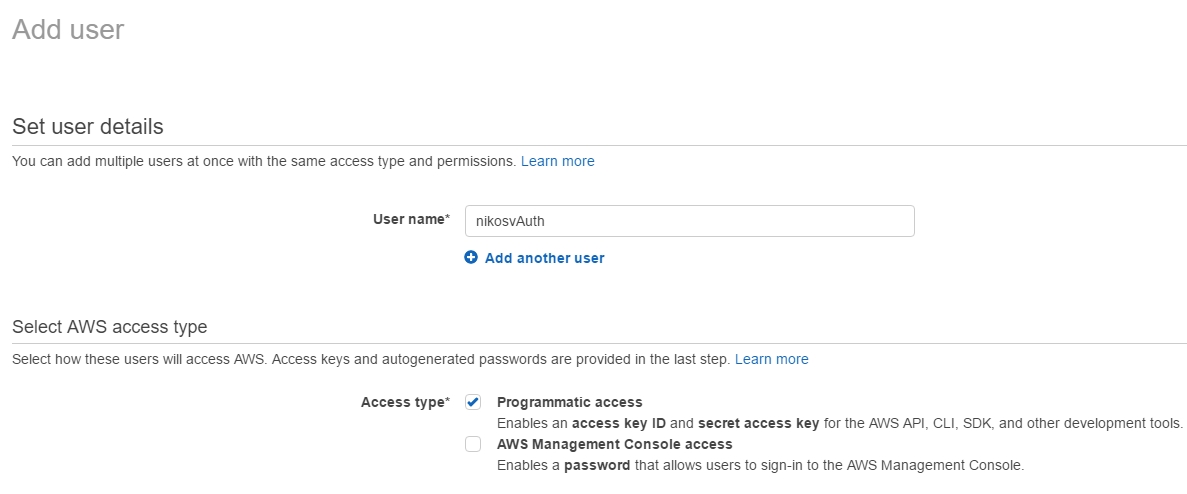
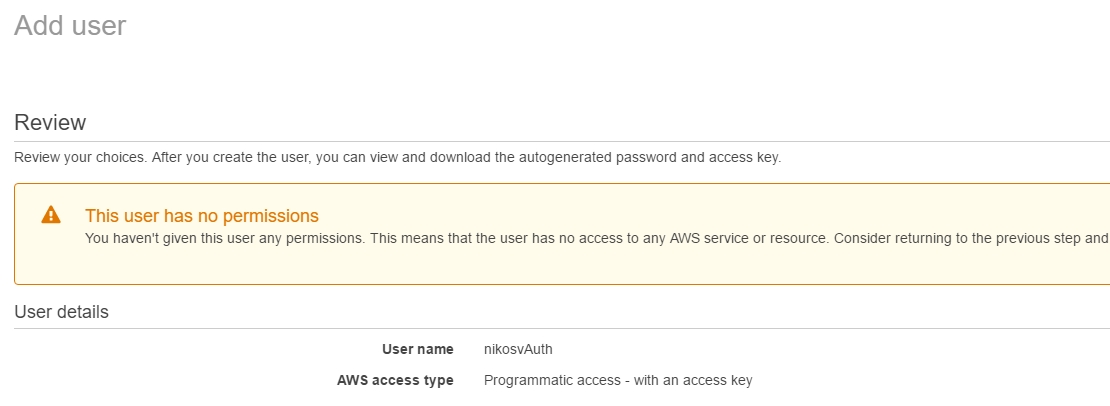
In order to do that and while still in the IAM menu, we make a new user called nikosvAuth and tick the Programmatic access checkbox which "Enables an access key ID and secret access key for the AWS API, CLI, SDK, and other development tools"
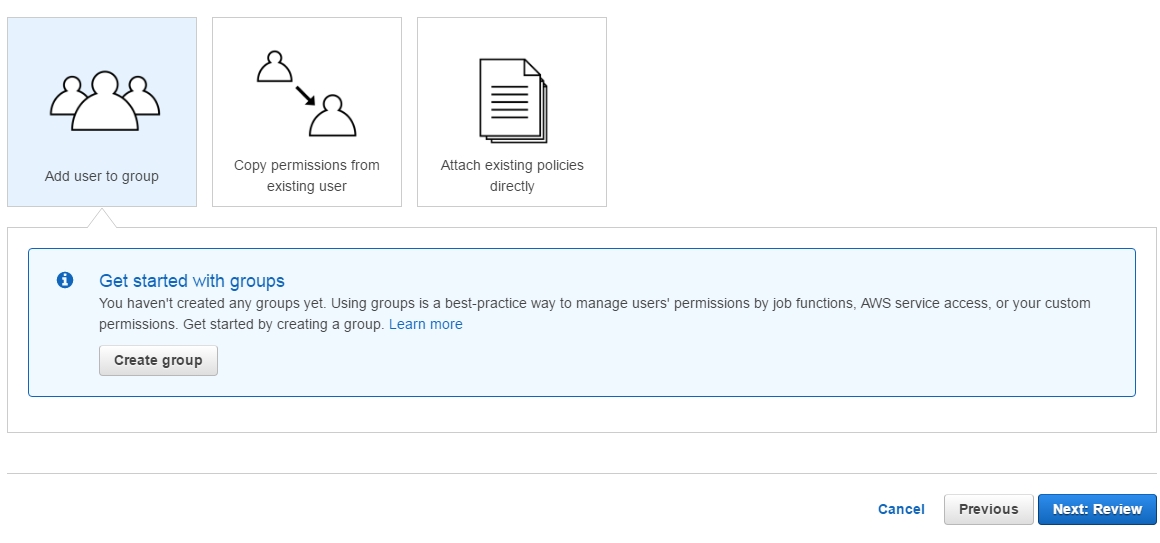
Leave the next screen as is and just click on 'Next:Review'
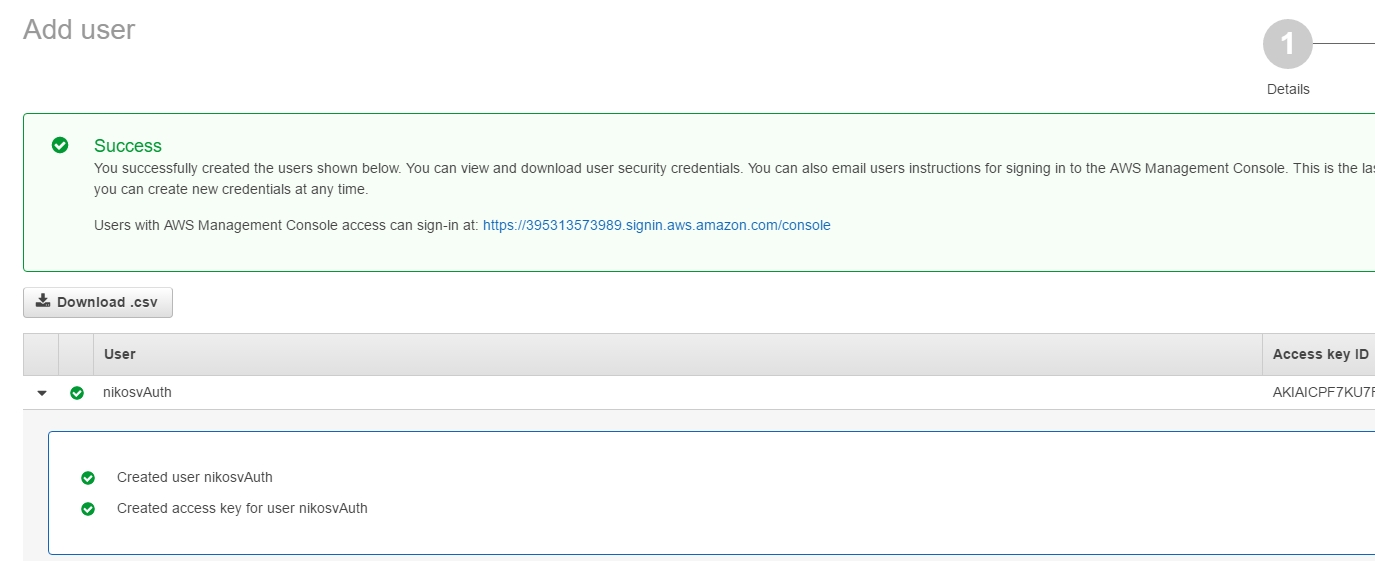
In the end, the user with its associated Access and Secret Key, is finally generated.We'll see how to use all that soon enough, but for the time being we still have to bind the newly made user, nikosvAuth to our lambda_basic_execution_helloWorldNodeJS_auth role:
In order to do that we're going to have to set a Custom (inline) Policy through the user's Manage User Permissions menu:

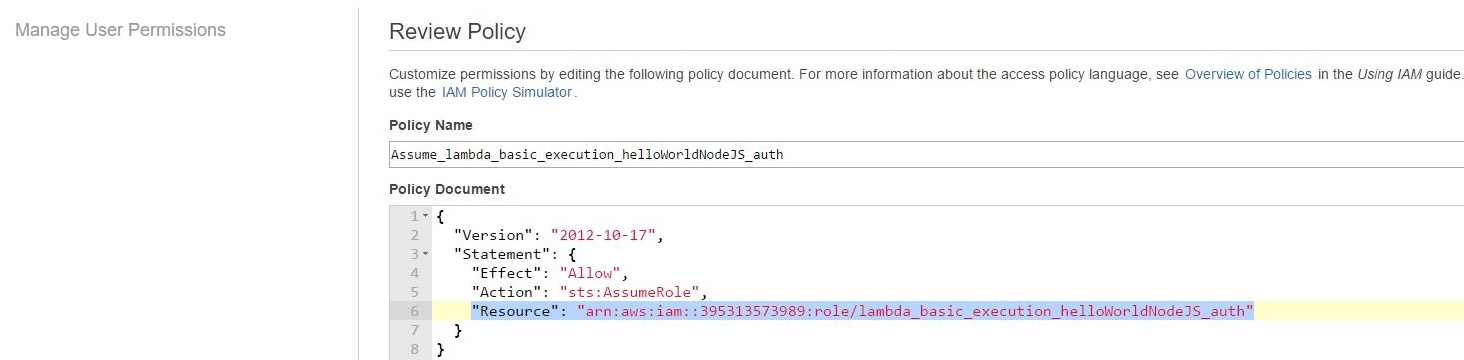
This brings up a new policy template, that we're going to name after Assume_lambda_basic_execution_helloWorldNodeJS_auth, then we add the following line to it:
"Resource": "arn:aws:iam::395313573989:
role/lambda_basic_execution_helloWorldNodeJS_auth"
resulting in the complete picture of :
{
"Version": "2012-10-17",
"Statement": {
"Effect": "Allow",
"Action": "sts:AssumeRole",
         "Resource": "arn:aws:iam::395313573989:???
   role/lambda_basic_execution_helloWorldNodeJS_auth"
}
}
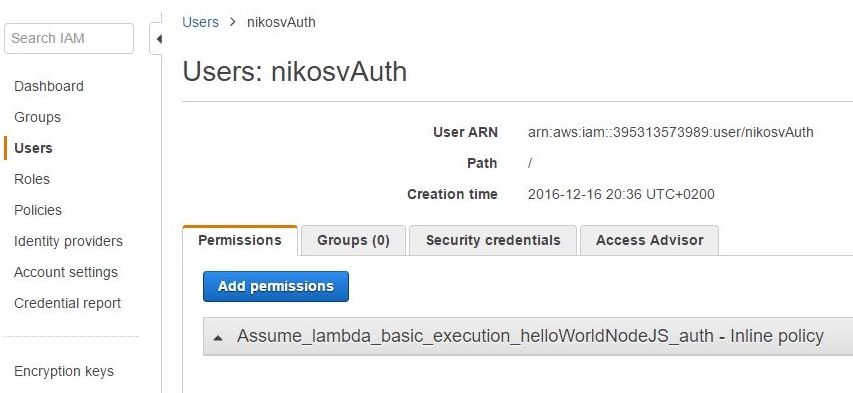
In other words what we've just done, is binding the user to the role so that he can assume it later on.
It's not over yet though as, despite establishing the first part of the relationship:
nikosvAuth -> lambda_basic_execution_helloWorldNodeJS_auth
it also goes the other way around, as the relatonship is biderectional:
lambda_basic_execution_helloWorldNodeJS_auth -> nikosvAuth
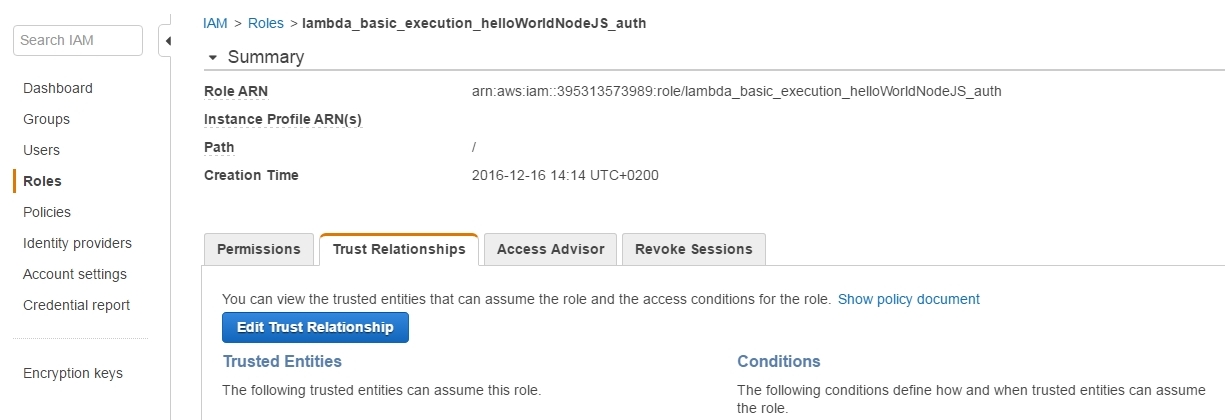
So in order to make the role aware of the user's existence we have to make the corresponding binding through the Role's Trusted Relationships tab:
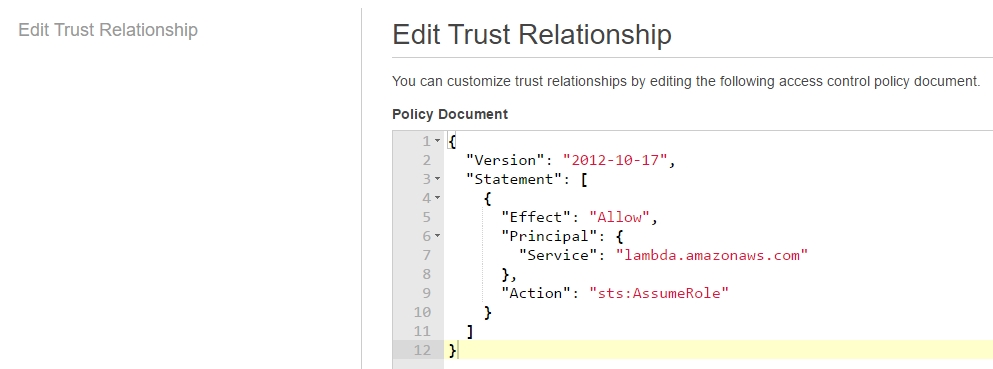
by modifying the boilerplate policy template from:
to:
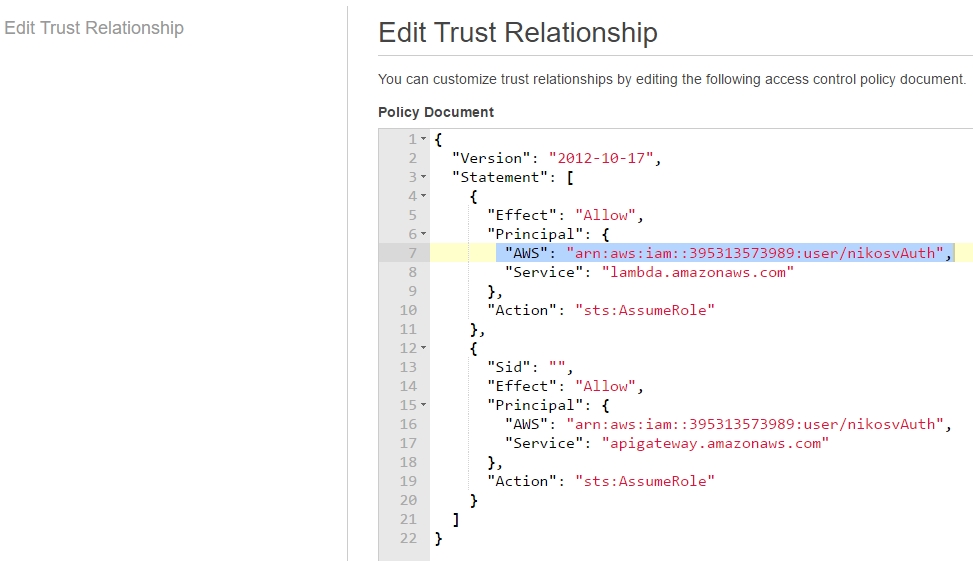
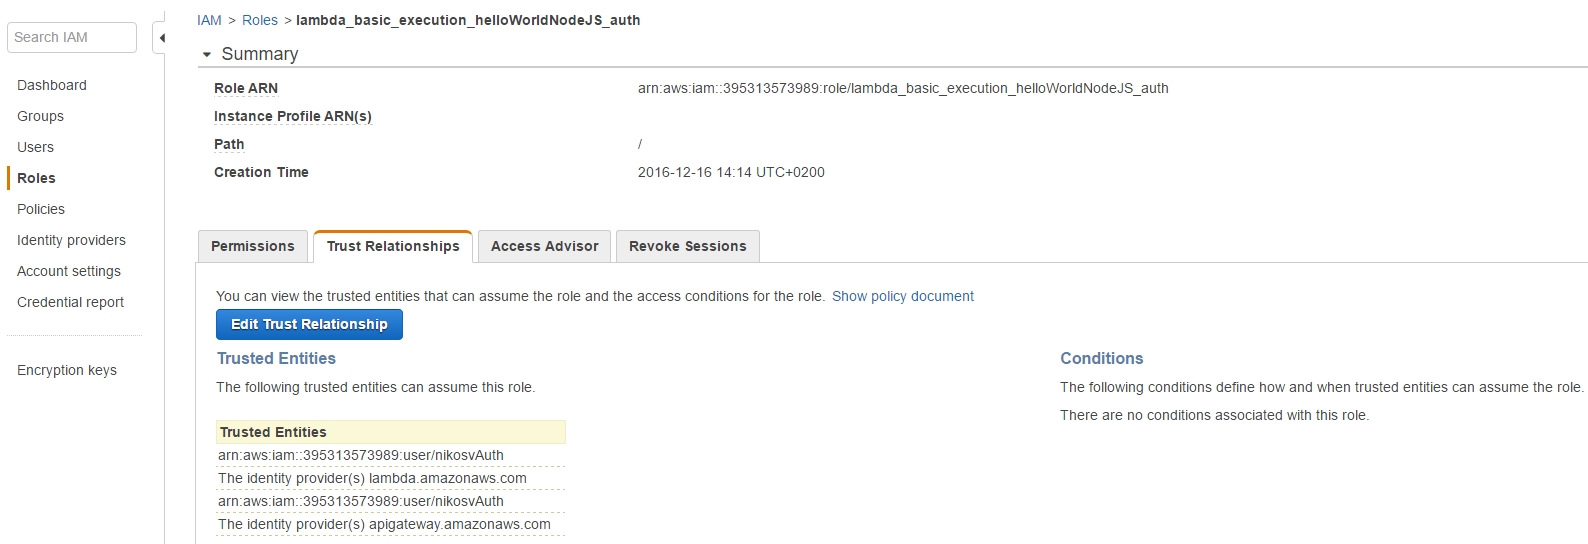
That is, we add the user's ARN (unique resource id) to both "lambda.amazonaws.com" and "apigateway.amazonaws.com" entries, so that he can access them through assuming the role.
|