| Silverlight Bitmap Effects |
| Written by Administrator | ||||
| Tuesday, 08 June 2010 | ||||
Page 2 of 3
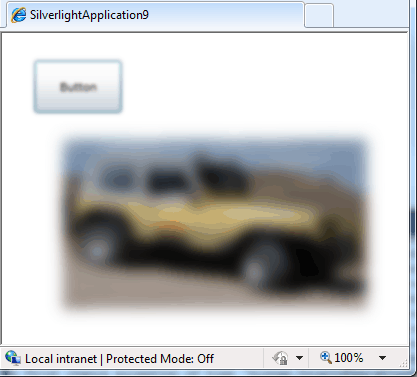
Not only can you apply an effect to a bitmap but to anything that can be rendered. In fact we are not really applying the effect to the bitmap even in this case - we are applying it to the result of rendering the Image control. To see this in action on a more obvious example of a general render consider blurring the button in the previous example as well as the Image control: button1.Effect = new BlurEffect();
You can control the effect in use via various properties which depend on the type of effect in use. For the blur effect there is only the Radius property that you can modify - the bigger the Radius the more the blur. For example. image1.Effect = new BlurEffect() which produces:
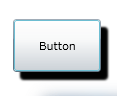
A bigger blur Notice that the blur really is applied to the rendering of the image control and not the bitmap. You can see that this is the case because the blur "spills out" over the boundary of the image control. If the blur was applied to the bitmap it would be just as blurred but the edges of the image control would be sharp. Also notice that effects apply to the children of any controls that you apply them to. This also allows you to apply multiple effects. You can apply an effect to a container and then other effects to the children within the container. The overall result is that the container and direct effects are applied to the children. DropShadowThe only other standard effect provided is the DropShadowEffect and this can be applied to the button just as easily as blur: button1.Effect = new DropShadowEffect() with the result:
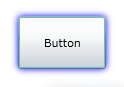
You can adjust the way the shadow looks using the BlurRadius, Direction, Color and ShadowDepth properties. The ShadowDepth controls how far away from the object the shadow is, Direction is the direction of displacement, color sets the shadow color and the BlurRadius controls the fuzziness of the shadow. XAMLOf course you can apply all of these effects using XAML - just follow the usual rules. For example, the drop shadow can be added to the button using: <Button Content="Button" etc.. > You can also animate an effect property in the usual way. Making a glowYou can also use the DropShadow effect to create an OuterGlow. Simply set the ShadowDepth to 0, BlurRadius to something big that gives you the "thickness" of outer glow and color to the color you want to glow to be. For example to produce a blue glow: button1.Effect =
There seems to be no obvious way to create a bevel effect without resorting to a custom effect and this will be covered in the next article.
<ASIN:1430230606 > <ASIN:1430225491 > <ASIN:0672330628 > <ASIN:1430219505 > <ASIN:1430229888 >
|
||||
| Last Updated ( Monday, 26 July 2010 ) |
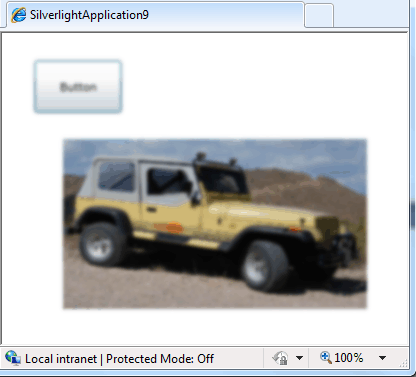 Notice that now the button is blurred as well as the photo