Now you have a grid of buttons correctly positioned.
Try to make sure that each Button you add is relative to one of the other Buttons and make sure that you have set them all to the same onClick handler. You can check that you have done this successfully by dragging one of the Buttons and see if they all follow! If one two don't then try repositioning them relative to one of the other Buttons. If you find any positioning difficult zoom in.
If you get into a mess delete all the constrataints and start over.
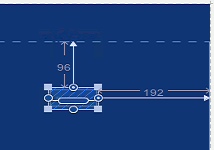
To make this look more like a keypad select the 0 key and size it so that it occupies a double width:
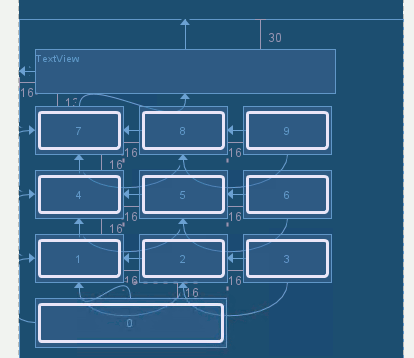
Finally add a TextView at the top. You can position it relative to the top row and the 7 key and then size it so that it spans the complete set of buttons. To do this you will have to delete the constraints on the 7 key and set its top relative to the bottom of the TextView an its left to line up with the left of the TextView. Don't forget to position the TextView relative to the top of the screen:
Now you should be able to move the entire block when you move just the TextView a new location.
It is good to know that you can undo an action by using Ctrl-z. If you find the Designer too difficult to work with to create this layout, and it can be difficult, you might prefer to set the layout properties using the property window.
Finally select the TextView and use the Properties window to change the font size to 18p or more - you will find it under the textApperance field.
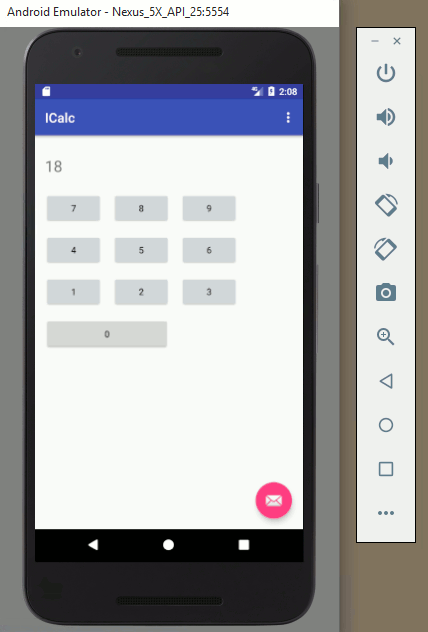
Finally run the program in the usual way and you will be please to discover your first app does actually calculate things!
Try rotating the emulator to see what it looks like in landscape mode.
Not bad but as promised as the app restarts you lose any calculation you were performing as the app is restarted when the orientation changes.
If you can try it out on a real Android device do so - it is easier to find out what it really feels like. Also do have a look at what the layout looks like on a range of screens and orientations.
This isn't much of a calculator, but you could make it into a really good one.
right align the text in the display
add a + and - button and implement the action
allow the user to enter multi-digit number
add a decimal point key and all a multi-digit float
add * an / keys
add a clear key
and so on...
There are better ways to implement the layout and we will come back to the calculator program in later chapters.
Summary
You can create the XML layout file by hand, but using the Designer is easier.
It is still useful to know how the XML file works so that you can edit it when the Designer lets you down in some way.
The Designer modifies the way components look in the Layout by changing a component's properties.
How you position a component depends on the Layout you are using.
The Constraint layout lets you position components relative to each other or to the container.
The Designer may change multiple properties to position the component where you want it.
Use the Component Tree to select components that are difficult to select in the Designer.
You can use the property window to select and directly set any property.
If you find positioning or sizing difficult in the Designer try zooming in.
You can use Android Studio to view what your app looks like on various screen sizes and orientations.
Different orientations and resolutions can be accommodated by creating additional layout files all with the same name. The system will pick which one to use at run time.
You can copy and paste components in the Designer to quickly build up repeated UI designs.
A single event handler can be attached to many components.
Android Programming In Java: Starting With an App Third Edition