| Getting started with WebGL |
| Written by David Conrad | ||||
| Wednesday, 09 February 2011 | ||||
Page 3 of 3
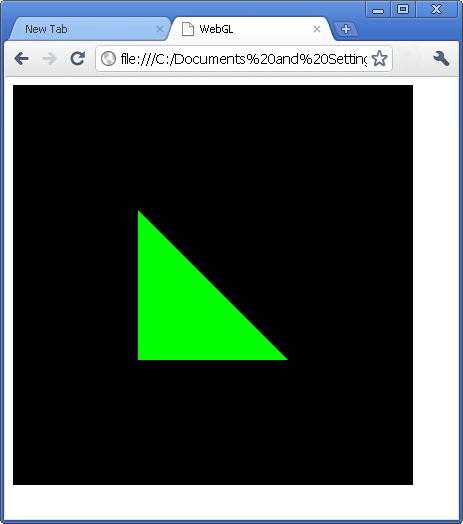
Vertex processngWe have spent a lot of time setting up the transformation matrices but there is still the matter of providing the 3D vertex data that provides the geometry of the model to be rendered. To do this we have to make another connection between data in our JavaScript program and the vertex shader. In this case though the connection is to an array of 3D vertex data. The complication is that the vertex data can make use of a set of vertex attributes which provide a range of possible information about the vertexes - including color, normal, textures and so on. You can even add your own attributes but more of this in another article. In this simple case the only vertex attribute that the shader processes is its position. The shader has a variable called attribute vec3 vertexPosition; and we have to deal with making the connection between this and the vertex position attribute what we are going to specify in the JavaScript. The whole subject of vertex buffers and arrays is a complicated one. The first step is to get the reference to the attribute in the shader and then enable it for rendering. If you enable it WebGL will use its data when ever you ask for a draw or re-draw of the scene. var vertexPos = gl.getAttribLocation( Next we create a buffer object - this is a completely general buffer without any particular structure - and bind it to the WebGL object's array buffer: var vertexBuffer = gl.createBuffer(); After binding it we need to specify the data structure of the array that will be used to store the data: gl.vertexAttribPointer(vertexPos, This says that the vertexPos attribute is a three component entity of type gl.Float, they should be un-normalized. The final two parameters are rarely used. The first specifies the stride of the data i.e. the amount of storage allocated to each element and the second specifies the offset i.e. where the data starts. For standard JavaScript arrays both are set to zero to indicate tight packing and no offset. The buffer that we have just created is an internal buffer in the sense that WebGL uses it to display whatever vertex data you have transferred to it. It provides a "retained mode" way of working with a 3D model. At this point we have a buffer set up that we can transfer data from the JavaScript program and then expect it to be used by the shader when the model is rendered. Lets draw a single triangle to get started: var vertices = new Float32Array( The bufferData method transfers the vertex data in the JavaScript object to the WebGL object's buffer. The STATIC_DRAW states that we are only going to write to this buffer very infrequently and the system can optimise for this situation. It doesn't stop us from writing to the buffer again but it might not be as efficient. Final setup and drawingNow we are almost ready do render the model but there are still some very simple initialisation steps we need to take. The first is to set the values that the color and depth buffer will be cleared to: gl.clearColor(0.0, 0.0, 0.0, 1.0); Notice these do not clear either buffer just set the default values that are used by a clear operation. Next we set the way that "culling" is performed. gl.enable(gl.DEPTH_TEST); This two set the system up to remove pixels that are behind other pixels in the 2D rendered scene - without this you would be able to see distant objects mixed in with closer objects. Finally we can clear the buffers using the values we just set: gl.clear(gl.COLOR_BUFFER_BIT | and finally we can ask the system to draw the triangle or in general whatever is in the buffer: gl.drawArrays(gl.TRIANGLES, The result is a fairly unimpressive green triangle - but this is a 3D green triangle. For example, if you change the model view matrix you can see the triangle from different locations. Don't expect any lighting effects or shadows because we haven't used a shader that creates them. Also try modifying the vertex positions of the triangles points and you will soon see that it is 3D.
From here you need to create more sophisticated shaders, use matrix operations to set up the view and position, define more complex models with color and texture attributes, experiment with lighting and animation. More on using WebGL soon. If you would like the code for this project then register and click on CodeBin. If you would like to be informed about new articles on I Programmer you can either follow us on Twitter, on Facebook, Digg or you can subscribe to our weekly newsletter. <ASIN:159863528X> <ASIN:1568814240> <ASIN:1430227907> |
||||
| Last Updated ( Wednesday, 04 June 2014 ) |